Classic Crochet Granny Square: Free Beginner Pattern
A clean, uniform square is the heart of cozy home textiles, offering a crisp texture that feels dense and satisfying under your fingers. These motifs suit makers who appreciate a rhythmic, low-stress project to pick up while listening to a podcast or sitting on the porch. Beginners gain confidence through the repetitive motions, while those with more practice enjoy how quickly a pile of squares builds into a substantial blanket. This guide breaks down the essential method for keeping your edges straight and your corners tight, ensuring every piece you hook maintains a consistent shape from the first chain to the final loop.
Why You’ll Love This Pattern
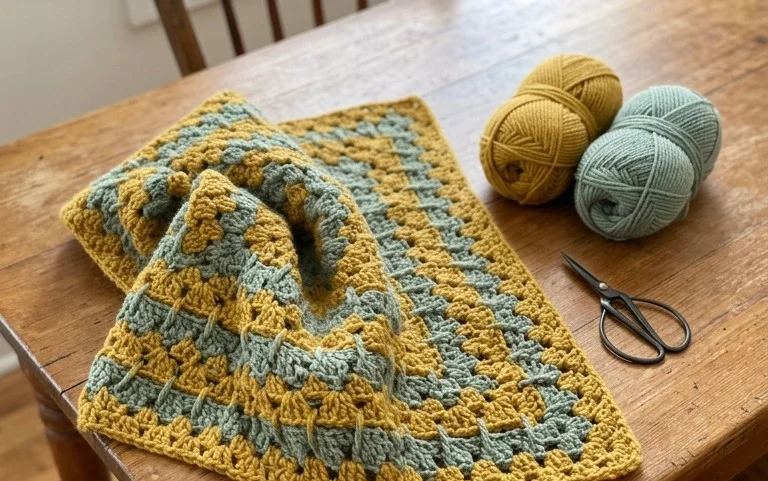
The Classic Crochet Granny Square is the foundation of countless textile projects, from cozy patchwork blankets to structural bags and light summer garments. This pattern focuses on the traditional solid-center design, which creates a dense, classic aesthetic with minimal gaps between stitches. It is a highly portable project that fits easily into a small bag, making it ideal for crocheting on the go. Beginners appreciate the meditative, repetitive nature of the stitches, while experienced makers value the speed at which each square grows. Because it requires only a small amount of yarn per square, it is an excellent way to use up leftover yarn from larger projects.
I finally learned how to keep my corners square using this exact method, and now I have a whole stack of them waiting to be joined into a blanket. It is the perfect pattern for relaxing in the evenings.
— Sarah, hobbyist crocheter
Pattern Overview & Skill Level
- Skill Level: Beginner
- Approximate Time: 30 to 45 minutes per square
- Construction: Worked in joined rounds, starting from the center and expanding outward
- Finished Dimensions: Approximately 6 inches by 6 inches using worsted weight yarn and a 5.0 mm hook
Materials & Supplies Needed
- Yarn: Worsted weight (#4) acrylic or wool blend, approximately 20 yards per square.
- Hook Size: 5.0 mm (H-8).
- Notions: Tapestry needle for weaving in ends, sharp scissors.
- Yarn Substitutions: You can use DK weight yarn for a smaller, finer square, or bulky weight yarn for a larger, quicker square. Adjust your hook size accordingly to maintain a fabric that is not overly stiff or loose.
Stitch Guide & Abbreviations (US Terms)
- ch: Chain
- st: Stitch
- sl st: Slip stitch
- dc: Double crochet
- dc cluster: A group of 3 dc worked into the same space
- sp: Space
- rnd: Round
Step-by-Step Pattern Instructions
Granny Square Body
- Rnd 1: Ch 4, join with a sl st to the first ch to form a ring. Ch 3 (counts as first dc), work 2 dc into the ring, ch 2, *3 dc into ring, ch 2; repeat from * two more times. Join with a sl st to the top of the starting ch-3. (12 dc, 4 ch-2 spaces)
- Rnd 2: Sl st into the next dc and into the corner ch-2 space. Ch 3, 2 dc in same space, ch 2, 3 dc in same space. *Ch 1, skip 3 dc, (3 dc, ch 2, 3 dc) in the next ch-2 space; repeat from * two more times. Ch 1, join with sl st to top of starting ch-3. (24 dc, 4 ch-2 spaces, 4 ch-1 spaces)
- Rnd 3: Sl st into the next dc and into the corner ch-2 space. Ch 3, 2 dc in same space, ch 2, 3 dc in same space. *Ch 1, 3 dc in next ch-1 space, ch 1, (3 dc, ch 2, 3 dc) in corner ch-2 space; repeat from * two more times. Ch 1, 3 dc in next ch-1 space, ch 1, join with sl st to top of starting ch-3. (36 dc, 4 ch-2 spaces, 8 ch-1 spaces)
- Rnd 4: Continue in established pattern, working (3 dc, ch 2, 3 dc) in every corner and 3 dc in every side ch-1 space. Join at the end of the round with a sl st. (48 dc, 4 ch-2 spaces, 12 ch-1 spaces)
Finishing
Once you reach the desired size, fasten off your yarn, leaving a 6-inch tail. Use a tapestry needle to weave the tail through the back loops of the final round to secure it. If you are making multiple squares, block them by pinning them to a foam mat, misting them lightly with water, and letting them air dry to ensure they all have uniform dimensions.
Care & Washing Instructions
- Machine wash your finished item on a gentle cycle in cold water with a mild detergent.
- Lay the item flat on a clean towel to dry, shaping it to its original dimensions while damp.
- Avoid using high heat in the dryer or direct ironing, as this can melt synthetic fibers or distort the stitch pattern.
Pro Tips & Common Mistakes to Avoid
- Maintain consistent tension by ensuring your yarn moves freely from the skein, which prevents the square from puckering or cupping.
- Place a removable stitch marker in the first stitch of every round to easily identify where to join, which prevents accidental increases or decreases.
- Weave your ends in by running the tapestry needle through the back of the stitches in two different directions, which prevents them from working loose over time.
- Adjust the size of your square by adding more or fewer rounds; remember that each additional round increases your yarn consumption significantly as the square grows.
Frequently Asked Questions
Can I use different types of yarn in the same project?
Yes, but ensure all yarns are of a similar weight class to keep the fabric texture uniform. Mixing fibers like cotton and wool can affect how the final item drapes and how it behaves in the wash.
Is this pattern suitable for a total beginner?
This is an ideal first project. It teaches you the basics of turning, working into spaces, and maintaining stitch counts in the round without requiring complex shaping.
How do I join these squares together once finished?
You can join them using a whip stitch with a tapestry needle, or use a slip stitch join to create a decorative raised seam. Choose a method that matches the desired look of your final project.
Am I allowed to sell items made from this pattern?
You are welcome to sell items made from this pattern as long as you give credit to the designer. Check individual local regulations and the specific licensing terms provided with the pattern source for more information.
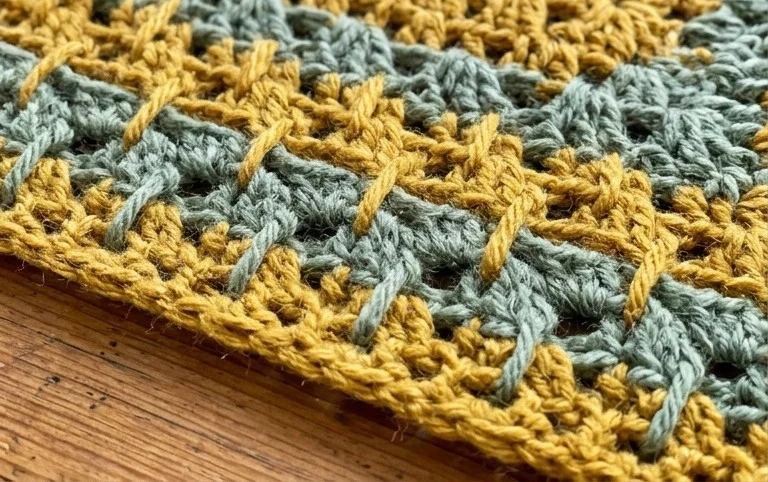
Your finished squares carry a hand-stitched warmth that brings a unique character to any room in your home. You might consider using a variegated cotton yarn for your next batch to shift the aesthetic toward something playful and bright. Please share a photo of your stack on social media so others can see how your color choices turned out. Browse the rest of the blog for more accessible designs to fill your scrap yarn baskets and expand your current collection of handmade goods.