Free Crochet Blanket Scarf Pattern: Easy Step-by-Step
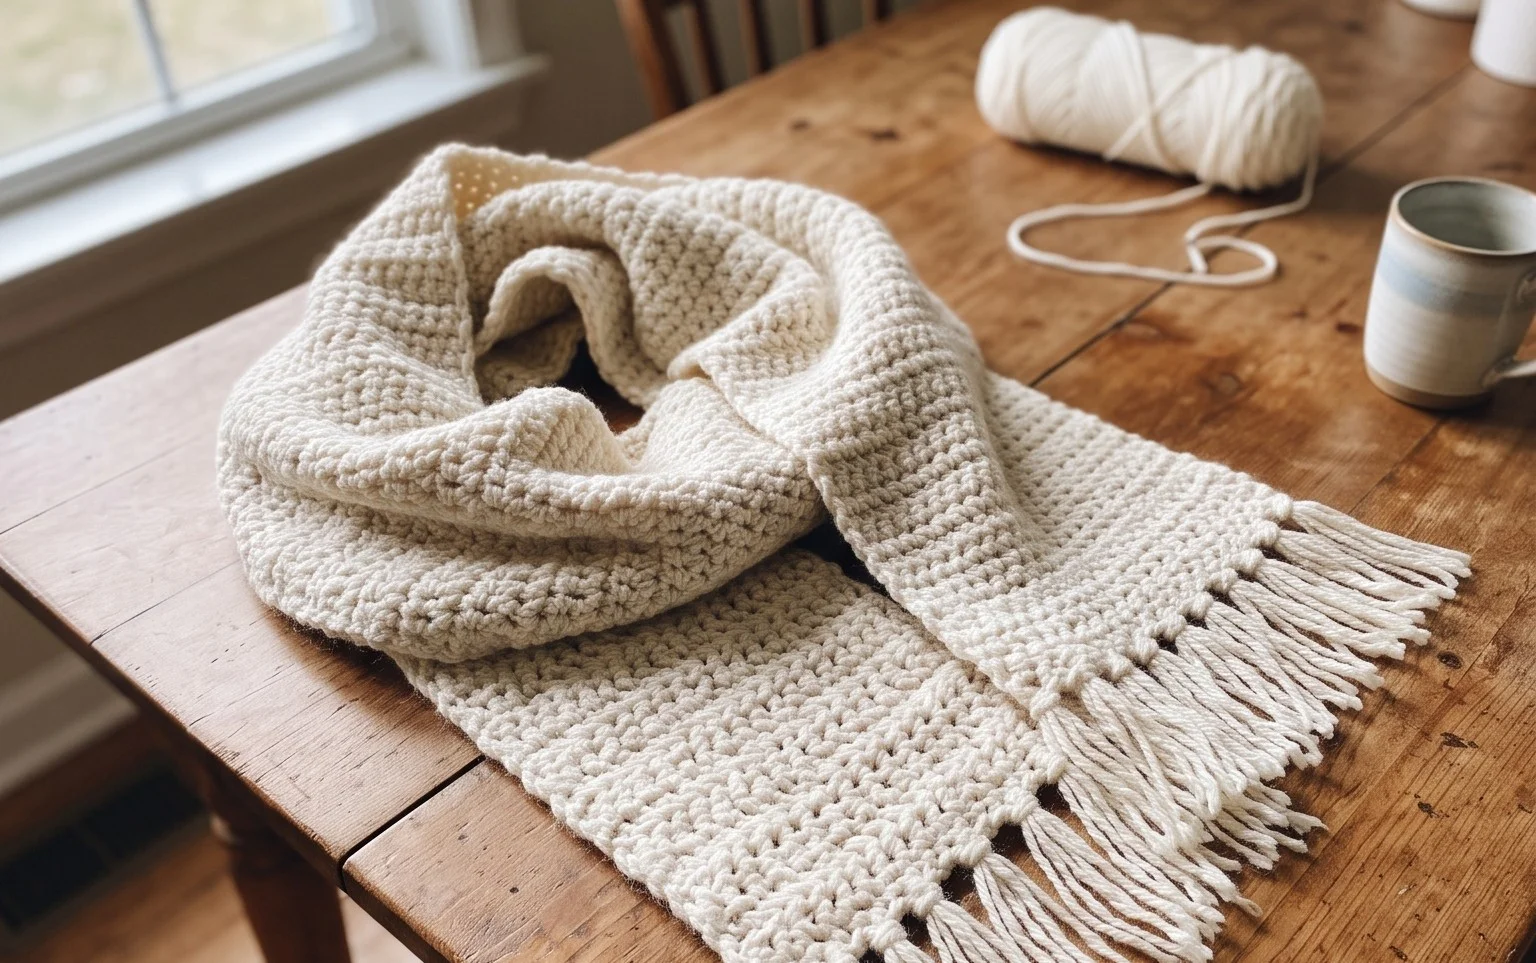
This blanket scarf feels like wearing a weighted, woolly hug on a sub-zero morning. The weight of the worsted yarn provides a comfortable drape that stays put on your shoulders without sliding off. If you are new to the craft, this project is a manageable way to build confidence while creating something you can actually wear outside. You will focus on maintaining steady tension across every cluster, ensuring your stitches look uniform from the first round to the last. This design turns simple yarn scraps into a functional piece of clothing, teaching you how to transition between colors smoothly.
Why You’ll Love This Pattern
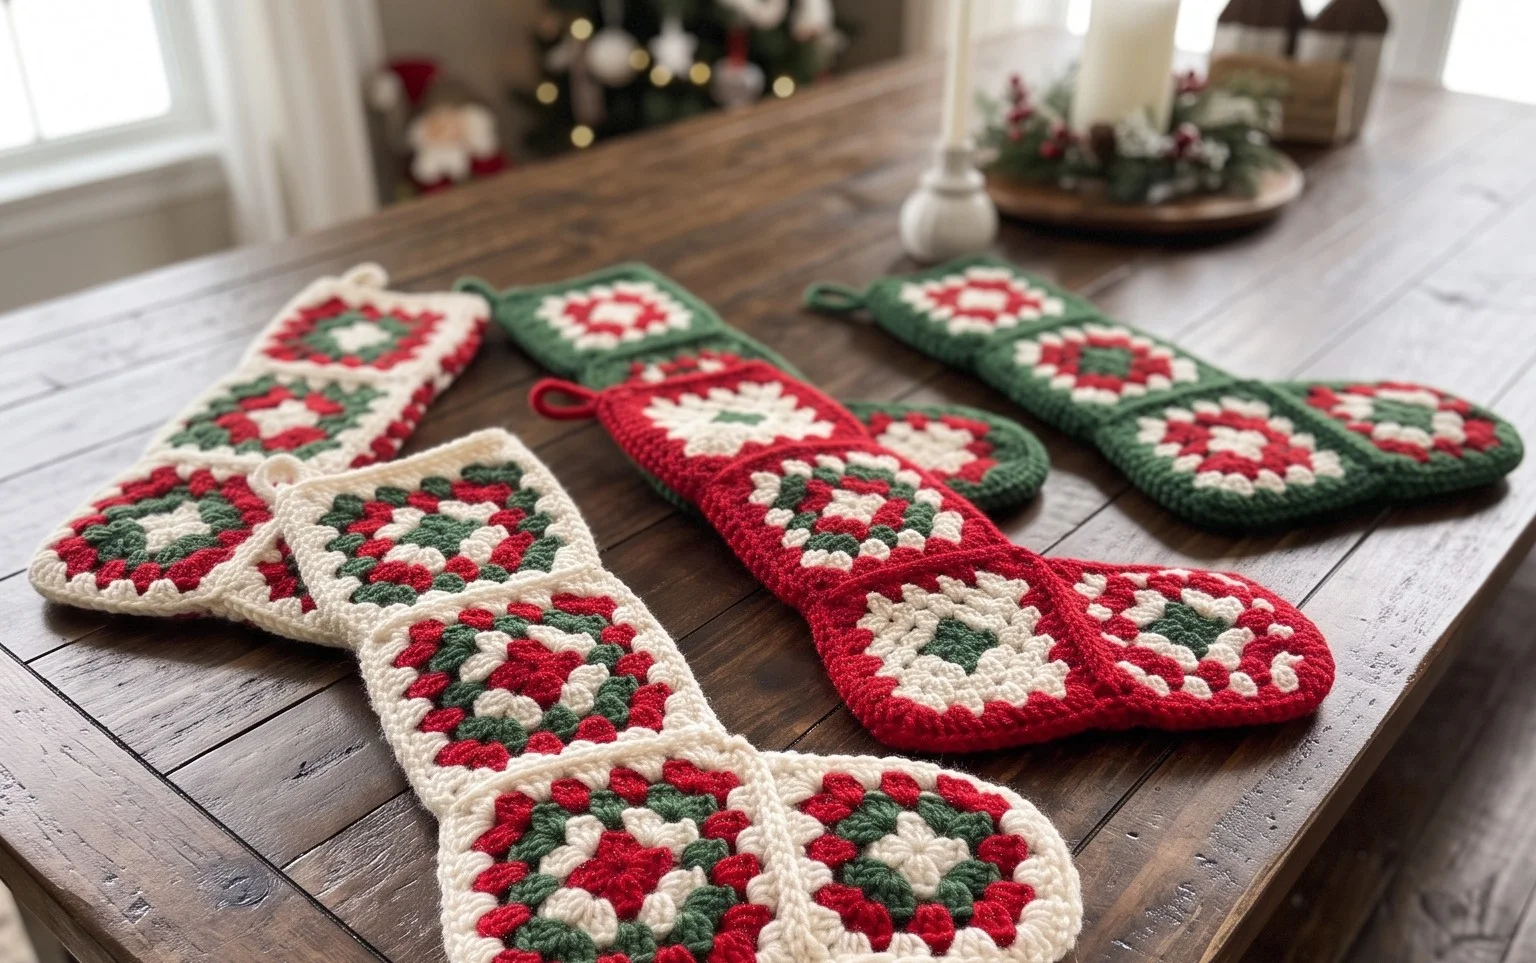
The Classic Crochet Granny Square is the fundamental building block for countless textile projects, from cozy patchwork blankets to structural tote bags. Because it is worked in rounds starting from a central point, you can stop at any time to create a smaller coaster or continue adding rounds until you have a full-sized afghan. This project relies on a repetitive pattern of clusters, making it an ideal choice for practicing consistent tension while listening to music or an audiobook. Using different colors for each round allows you to repurpose small amounts of leftover yarn from previous projects effectively. The end result is a flexible, durable square that does not require complicated seaming, as you can join them as you go.
I finally learned to keep my corners sharp and my edges straight after failing at other patterns. The instructions made the transition between the clusters so much easier to understand.
— Sarah, beginner crocheter
Pattern Overview & Skill Level
- Skill Level: Beginner
- Approximate Time: 30 to 45 minutes per square
- Construction: Worked in joined rounds, starting from the center and expanding outward
- Finished Dimensions: Approximately 6 inches square using worsted weight yarn
Materials & Supplies Needed
- Yarn: Worsted weight (#4), acrylic or wool blend, approximately 20 yards per square.
- Hook Size: 5.0 mm (US H-8).
- Notions: Tapestry needle for weaving in ends, sharp scissors.
- Safe Yarn Substitutions: You may use DK weight yarn for a smaller, delicate square, but you will need to increase the number of rounds to reach the same dimensions. Cotton yarn produces a stiffer, more defined square, while acrylic or wool provides more drape and softness.
Stitch Guide & Abbreviations (US Terms)
- ch: chain
- sl st: slip stitch
- dc: double crochet
- dc cluster: a group of 3 dc worked into the same space
- sp: space
- st(s): stitch(es)
Step-by-Step Pattern Instructions
Granny Square Body
- Rnd 1: Ch 4, join with sl st to first ch to form a ring. Ch 3 (counts as first dc), work 2 dc into the ring. Ch 2, 3 dc into ring, ch 2 3 times. Join with sl st to top of starting ch-3. (12 dc, 4 ch-2 sps).
- Rnd 2: Sl st into the next 2 dc and into the first ch-2 sp. Ch 3, 2 dc in same sp, ch 2, 3 dc in same sp (corner made). Ch 1, skip 3 dc, (3 dc, ch 2, 3 dc) in next ch-2 sp (corner) 3 times. Ch 1, join with sl st to top of starting ch-3. (24 dc, 4 ch-2 sps, 4 ch-1 sps).
- Rnd 3: Sl st into the next 2 dc and into the corner ch-2 sp. Ch 3, 2 dc in same sp, ch 2, 3 dc in same sp. Ch 1, 3 dc in next ch-1 sp, ch 1, (3 dc, ch 2, 3 dc) in next corner ch-2 sp 3 times. Ch 1, 3 dc in last ch-1 sp, ch 1, join with sl st to top of starting ch-3. (36 dc, 4 ch-2 sps, 8 ch-1 sps).
- Rnd 4: Sl st into the next 2 dc and into the corner ch-2 sp. Ch 3, 2 dc in same sp, ch 2, 3 dc in same sp. [Ch 1, 3 dc in next ch-1 sp] across to corner, ch 1, (3 dc, ch 2, 3 dc) in corner ch-2 sp 3 times. Ch 1, 3 dc in last ch-1 sp, ch 1, join with sl st to top of starting ch-3. (48 dc, 4 ch-2 sps, 12 ch-1 sps).
Finishing
Fasten off your yarn, leaving a 6-inch tail. Use your tapestry needle to weave the yarn tail through the back of the stitches to secure it. Repeat this for all color changes if you used multiple yarns throughout the square. Block your square by pinning it to a flat surface, lightly misting it with water, and allowing it to air dry to ensure the corners lay perfectly flat.
Care & Washing Instructions
- Machine wash your finished item on a gentle cycle in cold water.
- Lay the square flat on a clean towel to dry, reshaping the edges gently if needed.
- Avoid using a hot iron directly on acrylic yarn, as this may melt the fibers and permanently ruin the texture.
Pro Tips & Common Mistakes to Avoid
Maintaining consistent tension is vital for a square that does not warp or cup. If your square is curling, your tension might be too tight; try going up a hook size or relaxing your grip on the yarn. Always place a stitch marker in the first stitch of every round to easily identify where to join, as the starting chain can be difficult to spot. Weave your ends in as you go to avoid a daunting task at the end of a large project. If you decide to add more rounds to increase the size, remember that each round requires approximately 10 to 15 percent more yarn than the previous round due to the increased circumference.
Frequently Asked Questions
Can I use a larger hook to make the square grow faster?
Yes, using a larger hook creates larger, looser stitches, which makes the square expand more quickly. However, note that this also creates larger gaps between your double crochet clusters.
Is this pattern suitable for someone who has never held a hook?
This is a foundational pattern for beginners. The repeated stitches help build muscle memory, though practicing a simple chain and single crochet row first can help you get comfortable with holding the yarn before starting the squares.
How do I join these squares together to make a blanket?
You can join them using a whip stitch with a tapestry needle, or use a slip stitch join by holding two squares together and working through both sets of loops along the edge.
Can I sell the finished squares or blankets made from this pattern?
You are welcome to sell items made from this pattern as long as you provide credit to the designer. Do not sell the pattern itself or use these specific instructions to create a product line without checking the original designer’s licensing terms.
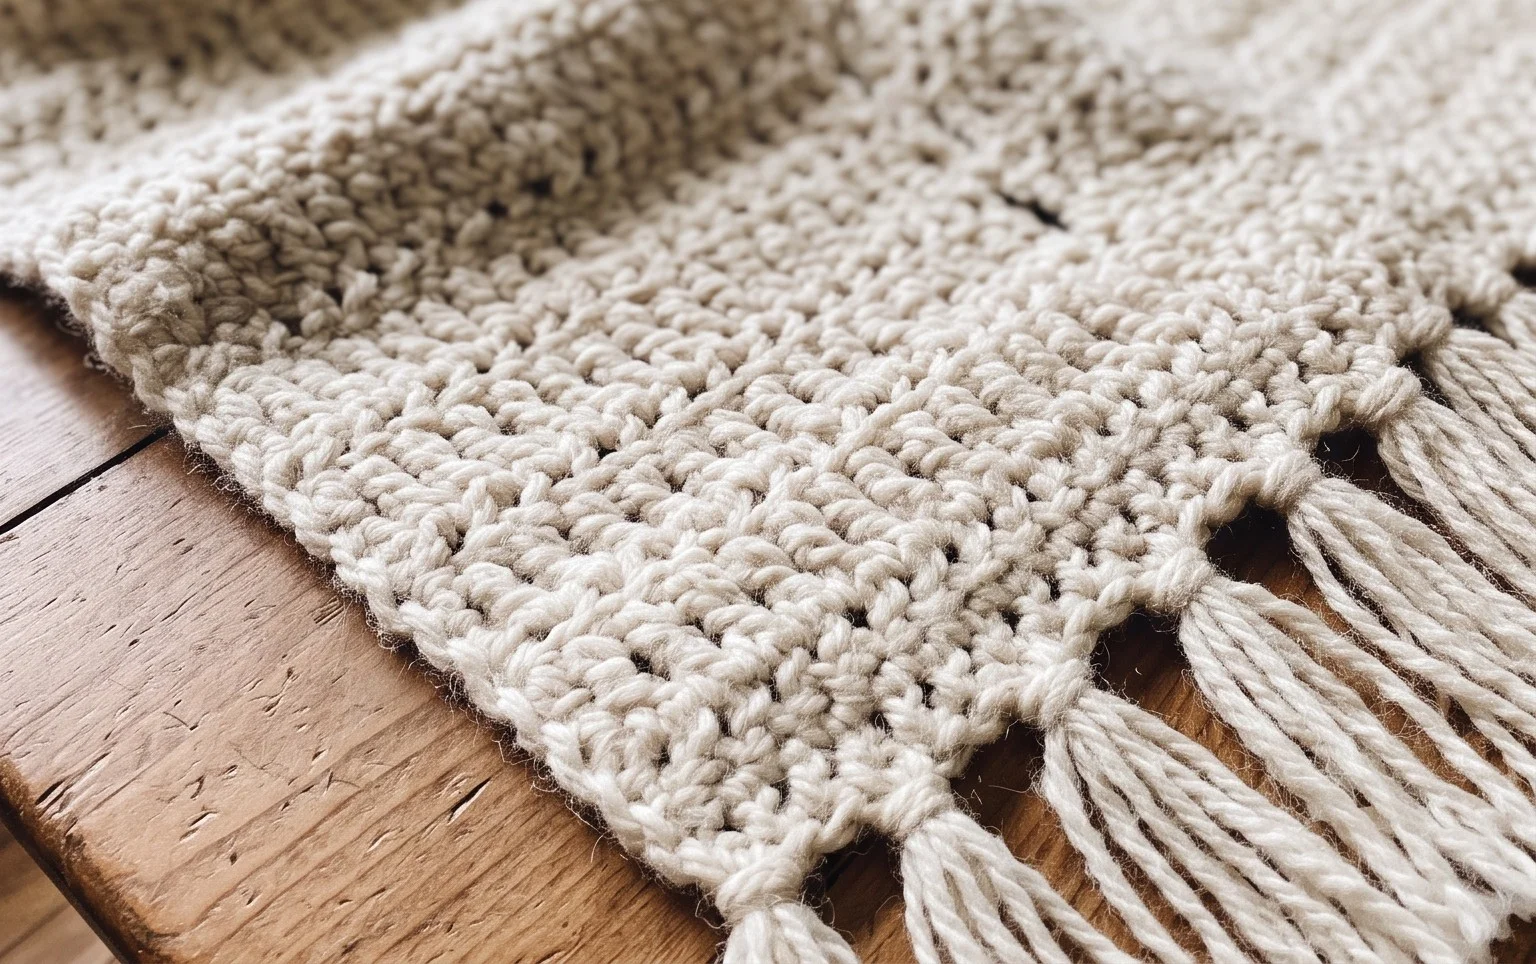
Wrapping your finished project around your neck provides a satisfying sense of accomplishment after those initial rows. Consider using a solid color instead of the scrap stash approach for a more muted, monochromatic look that matches a professional winter coat. You might even double the length of the final piece to create a true oversized shawl. Please share a photo of your progress on social media so others can see your color choices. I encourage you to check back on the blog for more free crochet patterns and project ideas.