Outlander Inspired Crochet Patterns: Easy Free Project
Highland-inspired textures bring a rustic, historical charm into your home through simple yarn work that feels like a cozy retreat from the modern world. These designs mimic the rugged, chunky cowls and wrist warmers worn in the Scottish highlands, offering a tactile experience that favors warmth and practicality. Beginners find this project rewarding because the stitches create a sturdy fabric that hides minor tension mistakes while providing a satisfying rhythm to each round. Whether you are crafting a meaningful gift or adding a touch of rustic character to your living space, you will find these instructions clear and manageable for an afternoon of quiet work.
Why You’ll Love This Pattern
This beginner-friendly crochet coaster pattern uses a simple, repetitive stitch cycle that creates a dense, absorbent fabric ideal for protecting wood surfaces from moisture. The project works up in under thirty minutes, making it an excellent choice for using up small amounts of leftover cotton yarn from larger projects. Because it relies on basic single crochet stitches, you can focus on maintaining consistent tension without worrying about complex shaping or counting patterns. The finished result is a thick, durable square that lays perfectly flat on any table surface.
These coasters were the first project I actually finished without losing count. The instructions are very clear and they look great on my coffee table.
— Sarah, hobbyist maker
Pattern Overview & Skill Level
- Skill Level: Beginner
- Approximate Time: 20-30 minutes per coaster
- Construction: Worked in flat rows, turning at the end of each row, with a final border round worked around the perimeter
- Finished Dimensions & Sizing: Approximately 4 inches by 4 inches
Materials & Supplies Needed
- Yarn: Worsted weight (#4) 100% cotton yarn, approximately 15-20 yards per coaster. Cotton is necessary for heat resistance and absorbency.
- Hook Size: 5.0 mm (H-8)
- Notions: Tapestry needle for weaving in ends, a pair of scissors, and optional stitch markers to keep row edges straight.
- Safe yarn substitutions: You may use acrylic yarn for decorative purposes, but note that acrylic may melt if used with hot mugs and will not absorb condensation as effectively as cotton. Using a heavier yarn will result in a larger coaster, while a thinner yarn will require additional rows to reach the same size.
Stitch Guide & Abbreviations (US Terms)
- ch = chain
- sc = single crochet (insert hook, yarn over, pull up a loop, yarn over, pull through both loops)
- st/sts = stitch/stitches
- sl st = slip stitch (insert hook, yarn over, pull through stitch and loop on hook)
- RS = Right Side
- WS = Wrong Side
Square Base
- Row 1: Chain 15. Sc in the second ch from hook and in each ch across. (14 sts)
- Row 2: Ch 1, turn. Sc in each st across. (14 sts)
- Rows 3–14: Repeat Row 2 until the piece forms a square shape. (14 sts)
Border & Finishing
- Round 1: Do not fasten off after the last row. Ch 1, turn work to crochet along the side edge. Work 14 sc evenly spaced along the side. In the corner, work (sc, ch 1, sc). Work 14 sc along the bottom foundation chain. Work (sc, ch 1, sc) in the next corner. Work 14 sc up the second side. Work (sc, ch 1, sc) in the final corner. Join with a sl st to the first sc of the round.
- Finishing: Fasten off yarn, leaving a 6-inch tail. Use your tapestry needle to weave the tail through the back loops of the border stitches to secure it invisibly.
Care & Washing Instructions
- Machine wash your cotton coasters in warm water on a gentle cycle to remove stains.
- Reshape the coaster while damp and lay it flat on a clean towel to air dry completely.
- Avoid using fabric softener, as it reduces the absorbency of the cotton fibers.
Pro Tips & Common Mistakes to Avoid
Maintain consistent tension by holding your yarn with steady pressure throughout the process; if your stitches feel too loose, try going down a hook size. Use a stitch marker in the first stitch of every row to ensure you do not accidentally drop or add stitches at the edges, which often causes the square to become trapezoidal. Weave your ends in multiple directions—horizontally and then vertically—to prevent them from working loose during repeated washing. To adjust the size, simply increase or decrease your starting chain and work the same number of total rows; remember that increasing the size will require a proportional increase in your yarn supply.
Frequently Asked Questions
Can I use a different yarn weight for this pattern?
Yes, but you will need to adjust your starting chain length and the number of rows worked to achieve your desired dimensions. Keep in mind that lighter weight yarns will produce a thinner, less stable coaster.
How do I know if my tension is correct?
If you see large gaps between your stitches, your tension is likely too loose. Your stitches should look compact and uniform, with no light showing through the fabric between the single crochet stitches.
Is this project suitable for complete beginners?
Yes, this is an ideal project for beginners because it only uses the single crochet stitch and requires basic row counting, helping you practice edge consistency.
Am I allowed to sell coasters made from this pattern?
You are welcome to sell finished items made using this pattern, provided you credit the design. Please do not redistribute the pattern text itself or claim the design as your own work.
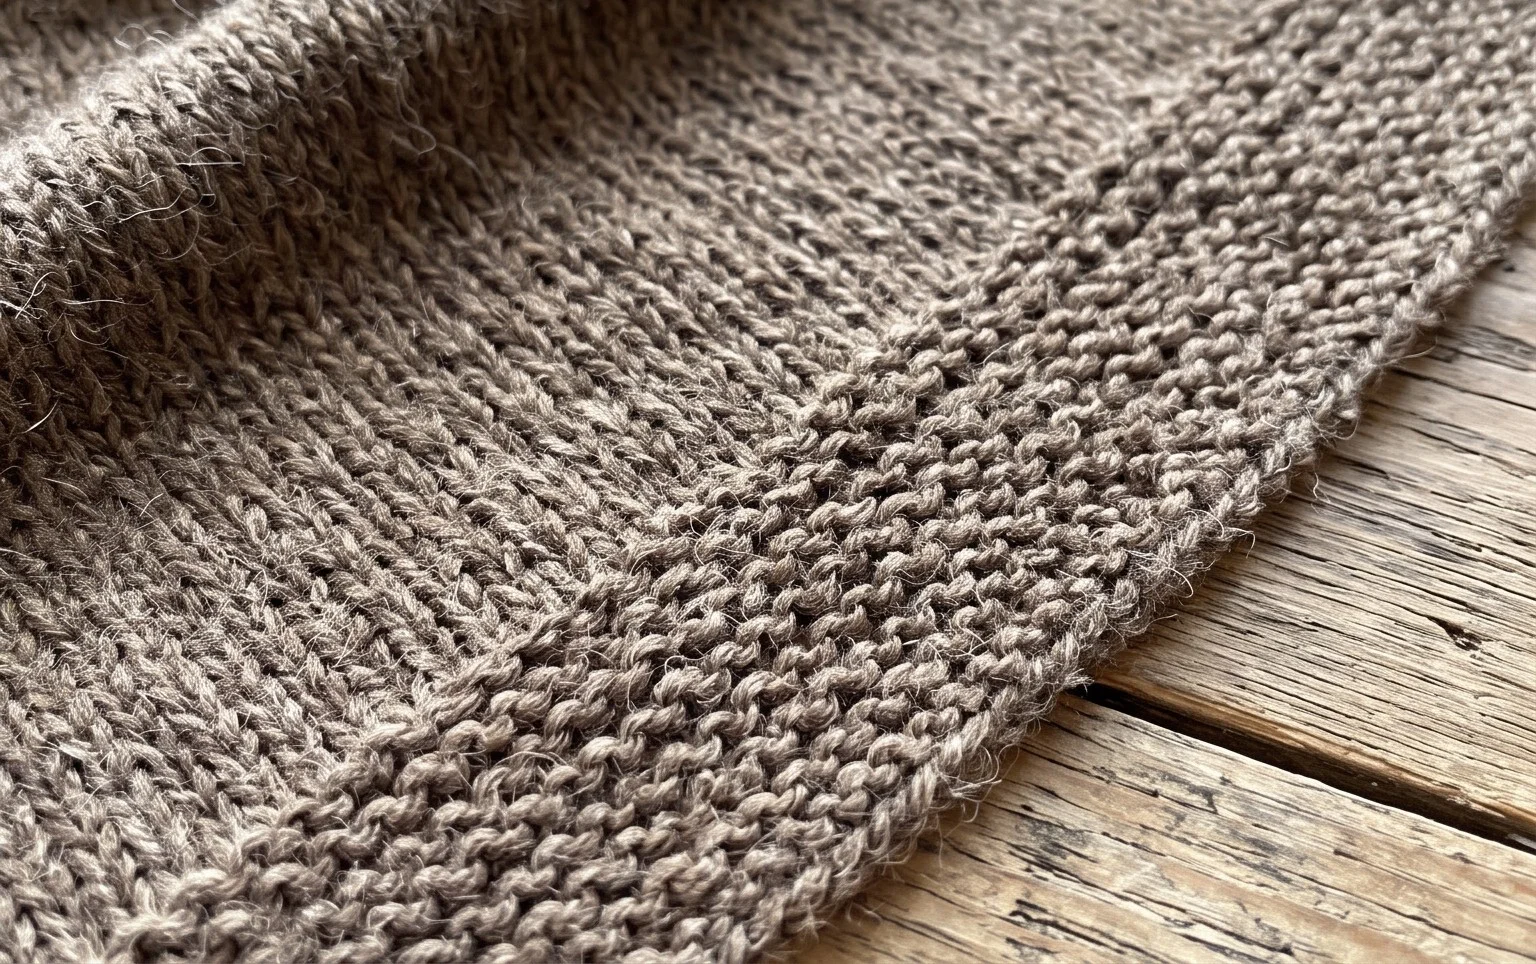
Your finished coaster set adds a rustic Highland touch to your table, protecting surfaces while reflecting your love for historical home styling. For a different aesthetic, try swapping the cotton for a muted wool blend to increase warmth or increase the stitch count to make a larger trivet for your teapot. Share your finished pieces on social media to inspire others in the crafting community. You can find more free patterns available on my blog to help you build your collection of handmade goods for every room.