Easy Ribbed Beanie Free Crochet Pattern for Beginners
Soft worsted weight yarn transforms into a snug winter staple when you work simple stitches in the back loops. This ribbed beanie design provides a classic look that fits comfortably on almost any adult head. Beginners find this project especially rewarding because it creates a high-quality accessory without the need for shaping or complex circular work. You will enjoy the rhythmic motion of the half double crochet stitches as the fabric grows row by row. Each stitch forms a stretchy, tight texture that holds its shape beautifully over time. Making this hat offers a quiet way to spend a few hours at home while you finish a useful gift for a friend or family member.
Why You’ll Love This Pattern
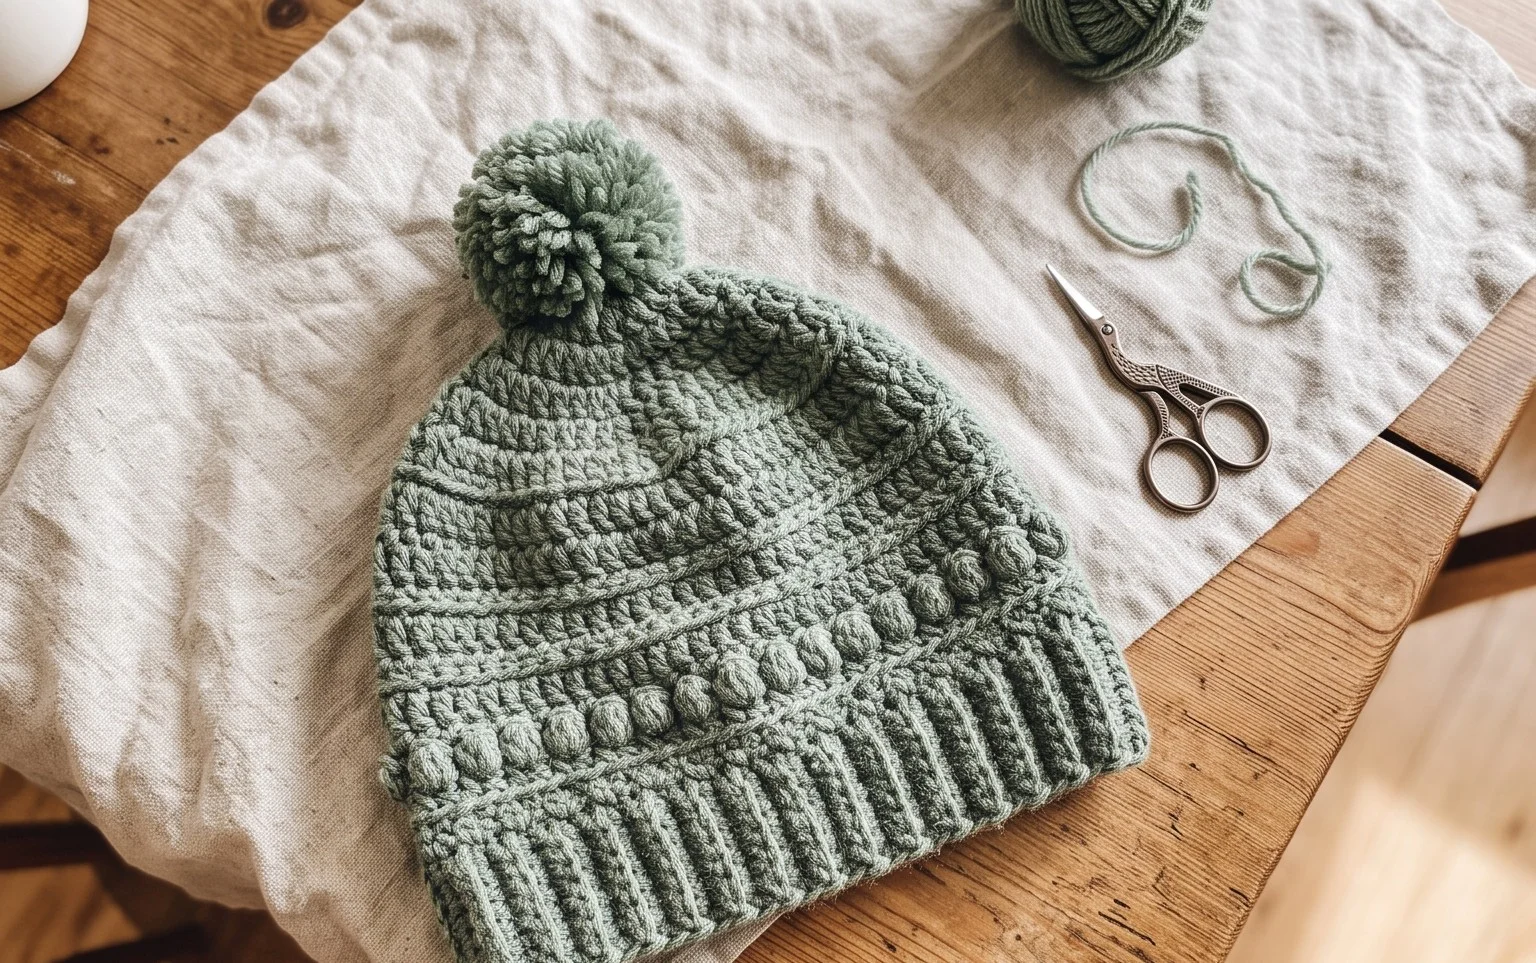
This crochet ribbed beanie offers a classic, fitted silhouette that relies on the simple beauty of half double crochet stitches worked in the back loops. It is an ideal project for using up leftover skeins because it only requires about 180 yards of worsted weight yarn. Because the pattern is worked flat as a rectangle and then seamed, it is incredibly beginner-friendly and avoids the complexity of circular knitting or difficult shaping. The ribbing provides a natural stretch that ensures a snug, comfortable fit for most adult head sizes.
I finished this hat in just one weekend. The repetitive stitch pattern was very soothing, and the final result looks like something store-bought rather than handmade.
— Sarah, casual crafter
Pattern Overview & Skill Level
- Skill Level: Beginner
- Approximate Time: 3 to 5 hours
- Construction: Worked flat in rows as a rectangle and seamed to form a tube, with a gathered crown
- Finished Dimensions & Sizing: Fits an average adult head, approximately 18 inches in circumference (unstretched) and 9 inches tall
Materials & Supplies Needed
- Yarn: Worsted weight (#4), 100% acrylic or wool blend, approximately 180 yards.
- Hook Size: 5.0 mm (US H-8) crochet hook.
- Notions: Tapestry needle for seaming and weaving ends, locking stitch marker, and a pair of scissors.
- Safe yarn substitutions: Cotton blends work well but will result in a heavier, less elastic hat. Avoid 100% cotton if you want the classic bouncy ribbing effect, as cotton lacks the natural memory of wool or acrylic fibers.
Stitch Guide & Abbreviations (US Terms)
- ch: Chain
- hdc: Half double crochet
- BLO: Back loop only (insert hook under the back loop of the stitch instead of both loops to create ridges)
- st/sts: Stitch/stitches
- sl st: Slip stitch
- FO: Fasten off
Step-by-Step Pattern Instructions
Hat Body
The hat is worked back and forth in rows to create the vertical ribbing. You will maintain the same stitch count throughout the entire length.
- Row 1: Ch 41. Hdc in the second ch from hook and in each ch across. (40 sts)
- Row 2: Ch 1, turn. Hdc in BLO of the first st and each st across. (40 sts)
- Rows 3–60: Repeat Row 2 until the piece measures approximately 18 inches unstretched.
- Final Row: FO, leaving a long 20-inch tail for seaming the side and closing the crown.
Assembly
- Fold the rectangle in half so the short ends touch.
- Using the long tail and your tapestry needle, whip stitch the two short ends together to create a tube.
- Once the side seam is closed, use the remaining yarn tail to weave in and out along the top edge of the tube.
- Pull the yarn tail tight to gather the top of the hat, closing the gap completely.
- Secure the thread with a tight knot inside the crown and weave in your ends securely.
Care & Washing Instructions
- Hand wash in cool water using a mild wool-safe detergent to preserve the shape of the fibers.
- Lay the hat flat on a clean towel to air dry, avoiding direct heat or sunlight which can cause discoloration.
- Reshape the hat gently while damp if it feels slightly compressed from storage.
Pro Tips & Common Mistakes to Avoid
Maintaining consistent tension is the most important factor in this pattern. If your tension is too loose, the ribbing will appear gappy, and if it is too tight, the hat will lack the necessary stretch to fit comfortably. Always count your stitches at the end of every row to ensure you have exactly 40 stitches; accidentally adding or dropping a stitch will ruin the straight edge needed for the seam. Weave your ends into the seam allowance on the inside of the hat to keep the exterior looking professional and clean. You can easily adjust the size of the hat by changing the length of your starting chain; adding chains will make the hat taller, while adding more rows will make the circumference larger.
Frequently Asked Questions
Can I use a different yarn weight for this pattern?
Yes, but you will need to adjust your starting chain and row count. A thinner yarn will require more stitches for height, while a thicker yarn will require fewer.
How do I know if the hat will fit correctly?
Measure your head circumference. This pattern is designed for an 18-inch circumference. If your head is larger, add 4 to 6 rows to the length of the rectangle before seaming.
Is this pattern suitable for complete beginners?
Absolutely. It uses only one basic stitch, the half double crochet, and requires no complex increases or decreases, making it perfect for your first wearable project.
Can I sell the hats I make from this pattern?
You are welcome to sell finished items made from this design. Please credit the pattern origin whenever you list your handmade goods for sale.
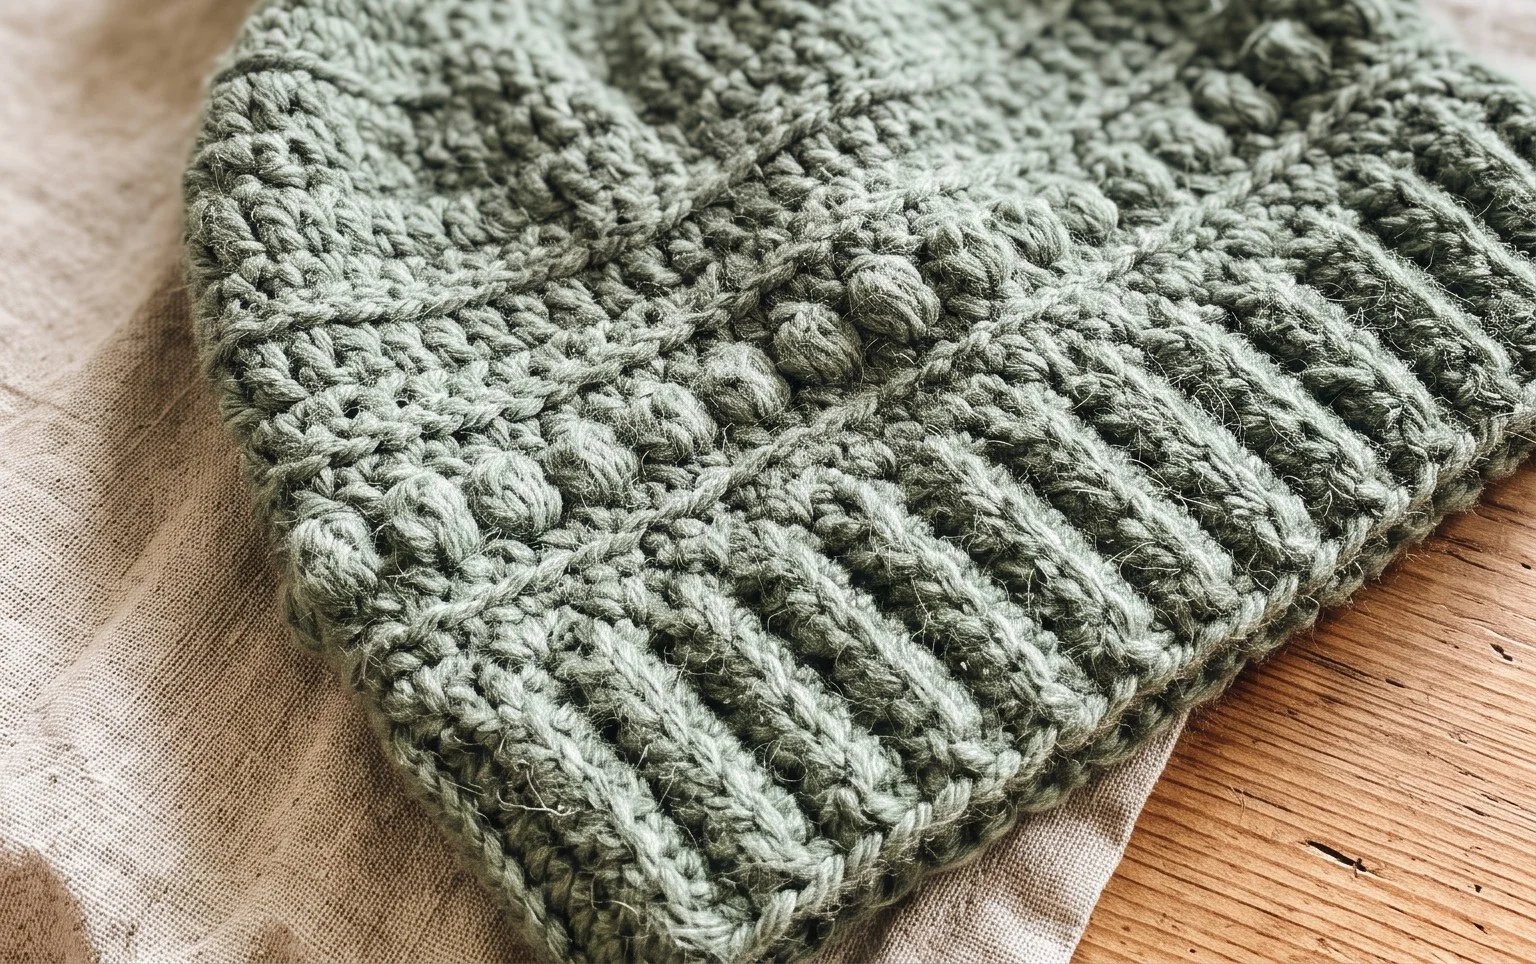
Your finished hat feels soft and warm against your skin, providing a cozy layer for chilly morning walks. You can change the aesthetic by adding a faux fur pompom or holding two strands of lighter yarn together for a chunky look. Once you finish your project, consider posting a photo online to show how your color choices turned out. Browse the rest of the blog for more free patterns to build your collection of handmade winter accessories for everyone you know.