Easy Crochet Snow-Speckled Reindeer Beanie Free Pattern
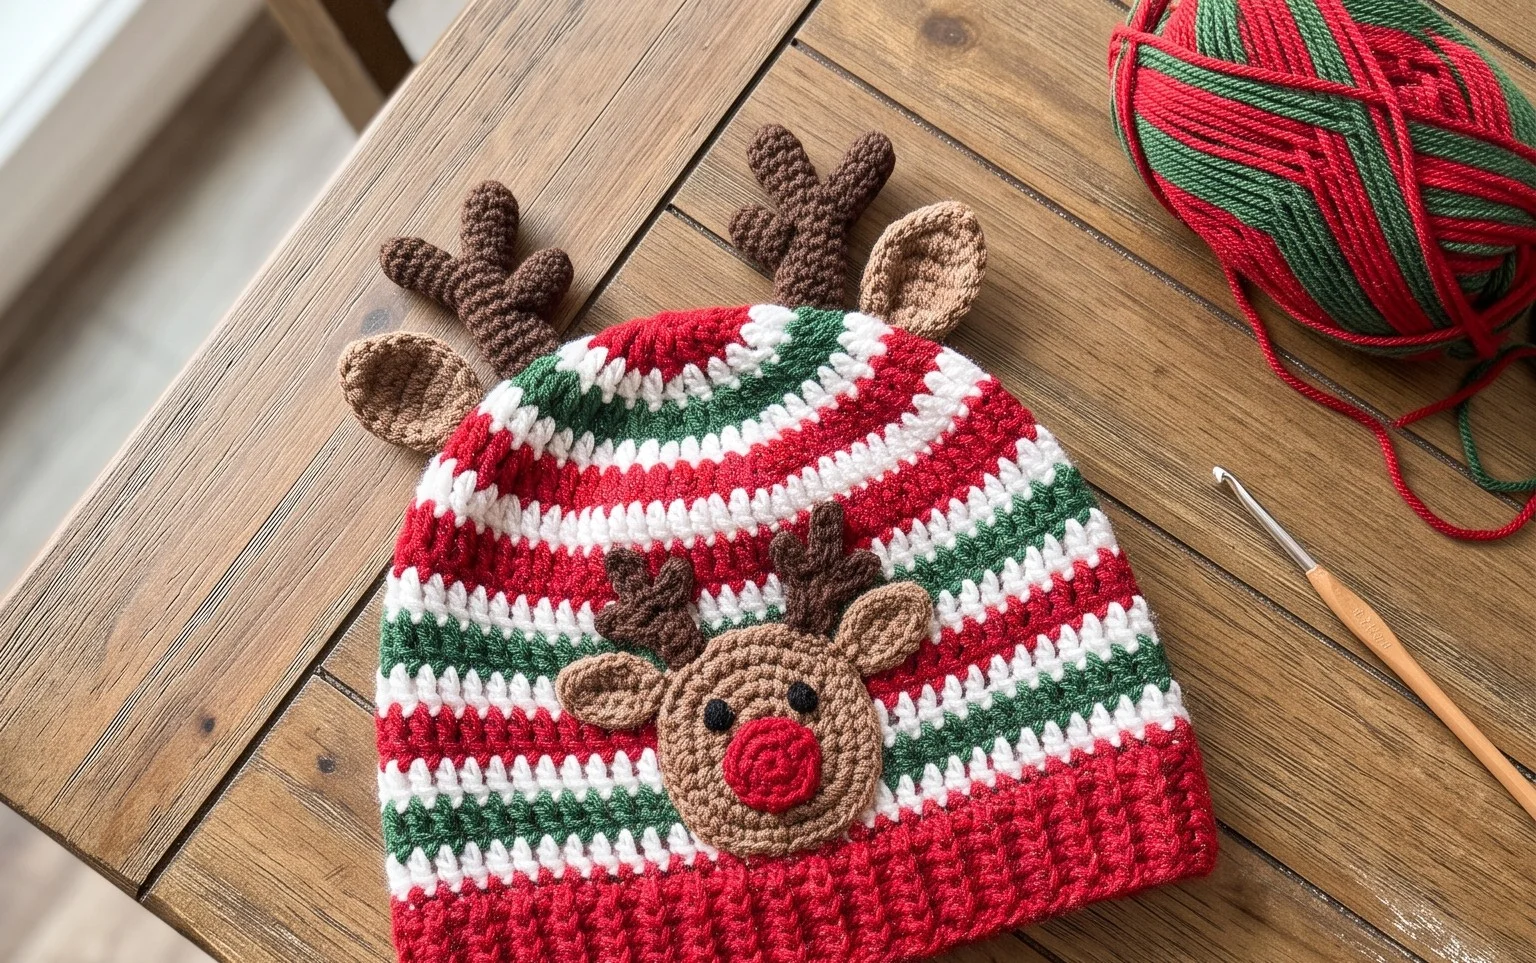
This tiny hat features a soft, plush texture with whimsical speckles that bring a cozy holiday charm to any mantle or shelf. It sits comfortably in the palm of your hand, making it a quick project for anyone who enjoys working through their yarn bin on a quiet afternoon. Beginners will find the repetitive rounds manageable, while the assembly of the ears and antlers provides a rewarding challenge for those ready to practice finishing techniques. You will work with a simple stitch pattern that keeps the fabric tight and uniform, ensuring your finished piece holds its distinct shape through many seasons of display.
Why Crocheters Love It
This beginner-friendly project works up quickly, making it a reliable choice for last-minute gifts or stash-busting sessions. Because the construction uses simple, repetitive rounds, you can easily set it down and pick it back up without losing your place. The finished item creates a dense, sturdy fabric that holds its shape well, whether you use it as a decorative accessory or a functional household piece. Its modular nature allows you to experiment with different yarn weights to alter the final scale, providing a satisfying sense of accomplishment for new crafters and a relaxing rhythm for those with more experience.
I managed to finish this project in a single afternoon using scraps from my yarn bin. The instructions are very clear about the stitch counts, so I never felt lost during the increasing rounds.
— Sarah, hobbyist crafter
Pattern Overview & Skill Level
- Skill Level: Beginner
- Approximate Time: 2 to 3 hours
- Construction: Worked in continuous rounds using a magic ring and basic increases to form a circular base, followed by even rounds for the body.
- Finished Dimensions: 4 inches in diameter and 5 inches in height.
Materials & Supplies Needed
- Yarn: Worsted weight (#4), 100% cotton, approximately 80 yards. Cotton provides the best structure for this type of project.
- Hook Size: 5.0 mm (H-8).
- Notions: Tapestry needle for weaving in ends, a locking stitch marker to track the start of each round, and standard polyester fiberfill for stuffing.
- Safe Yarn Substitutions: Acrylic worsted weight yarn can be substituted for a softer feel, though it may result in a slightly larger or less rigid finished product. Using a DK weight yarn will significantly decrease the size unless you increase your hook size to maintain the desired tension.
Stitch Guide & Abbreviations (US Terms)
- MR: Magic ring
- ch: Chain
- sc: Single crochet
- inc: Increase (work 2 single crochet in the same stitch)
- dec: Decrease (single crochet two stitches together to reduce the count)
- sl st: Slip stitch
- st/sts: Stitch/stitches
Step-by-Step Pattern Instructions
Main Body
- Rnd 1: Start with a MR and work 6 sc into the ring. (6 sts)
- Rnd 2: Work 2 sc in each st around. (12 sts)
- Rnd 3: [1 sc, inc] repeat 6 times. (18 sts)
- Rnd 4: [2 sc, inc] repeat 6 times. (24 sts)
- Rnd 5: [3 sc, inc] repeat 6 times. (30 sts)
- Rnd 6: [4 sc, inc] repeat 6 times. (36 sts)
- Rnds 7-15: Sc in each st around. (36 sts)
- Rnd 16: [4 sc, dec] repeat 6 times. (30 sts)
- Rnd 17: [3 sc, dec] repeat 6 times. (24 sts)
- Rnd 18: [2 sc, dec] repeat 6 times. (18 sts). Stop to fill the body firmly with fiberfill.
- Rnd 19: [1 sc, dec] repeat 6 times. (12 sts)
- Rnd 20: [dec] repeat 6 times. (6 sts)
Finishing
Cut the yarn, leaving a 6-inch tail. Use your tapestry needle to weave the tail through the front loops of the remaining 6 stitches. Pull tight to close the opening securely. Thread the needle through the center of the closure and bury the yarn end inside the body of the project before trimming the excess.
Care & Washing Instructions
- Hand wash in cool water using a gentle detergent to prevent fiber breakdown.
- Gently squeeze out excess moisture without wringing or twisting the fabric.
- Lay flat on a clean towel in a shaded area to air dry, reshaping while damp to ensure the item maintains its intended form.
Pro Tips & Common Mistakes to Avoid
Maintain consistent tension throughout the project by keeping your yarn tension steady; if you notice gaps between your stitches, try dropping down to a smaller hook size. Always place a stitch marker in the first stitch of every round to avoid losing track of your count, as this is the most common reason for uneven results. When weaving in your ends, run the tapestry needle through the internal stuffing rather than pulling against the external loops to ensure the finish remains invisible. Remember that increasing your hook size will yield a larger project, but you must ensure your stitches remain tight enough that the fiberfill stuffing does not show through.
Frequently Asked Questions
Can I use a bulkier yarn for this pattern?
Yes, but you will need to adjust your hook size to match the yarn recommendation on the label. Using a bulkier yarn will result in a significantly larger finished item, so adjust your material quantities accordingly.
Is this project suitable for a complete beginner?
This is an ideal starting project because it relies on basic stitches and circular construction. As long as you understand how to form a magic ring and count your stitches, you will be able to complete this piece.
How can I make the item smaller?
You can reduce the number of increase rounds to make the base smaller. For every round you omit, you will also need to reduce the number of decrease rounds at the end to ensure the shape closes properly.
May I sell the items I create using this pattern?
You are welcome to sell your finished items as long as you provide credit to the pattern designer. Always check the specific usage terms provided in the original pattern file if you are working from a sourced document.
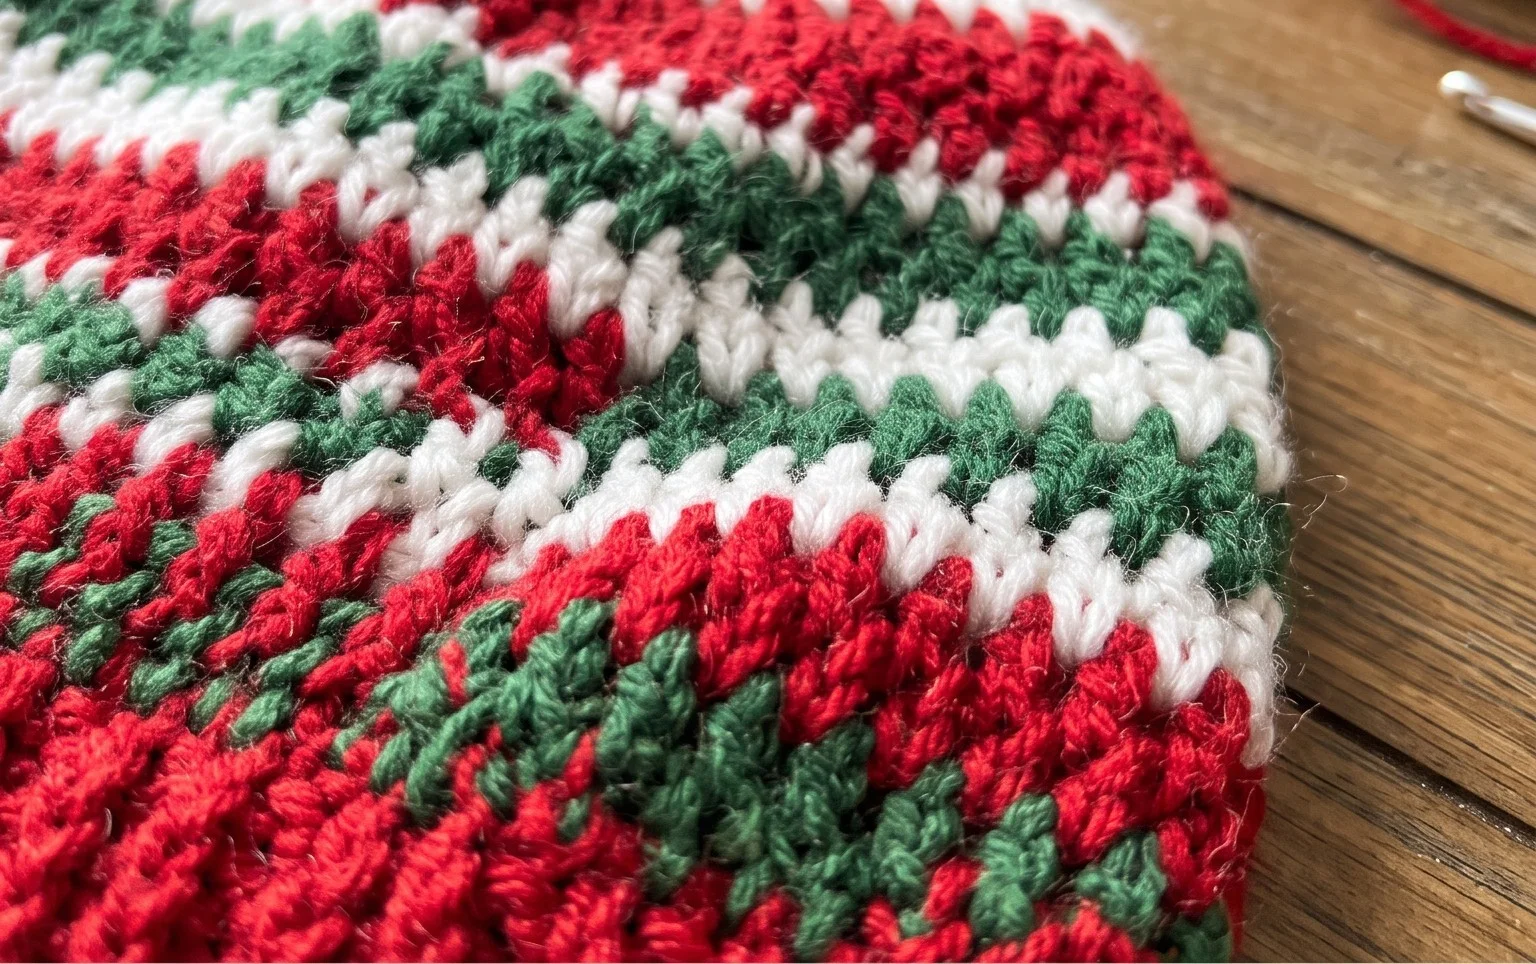
Your new holiday decoration will add a lovely handmade touch to your seasonal displays for years to come. If you want to customize the look, try using a deep forest green yarn for the base or adding a small pom-pom to the top for extra flair. Posting a photo of your work on Instagram helps other makers find inspiration for their own yarn stashes. Feel free to browse through the rest of the collection on the blog to find more fun winter accessories and holiday projects waiting for your hook.