Easy Crochet Beanie: Beginner Free Pattern and Tutorial
A stack of leftover yarn often hides in the back of a craft closet, waiting for a purpose beyond sitting in a dust-covered bin. This beanie transforms those scattered scraps into a soft, squishy accessory that fits snugly against the ears during chilly morning walks. Beginners will find the repetitive nature of the stitches helpful for building muscle memory while producing a professional garment that looks like it came from a high-end boutique. You will master the back loop stitch to create distinct ridges that mimic knitting without any complex counting or tension shifts to worry about.
Why You’ll Love This Pattern
This classic crochet beanie works up quickly using the half double crochet stitch, which provides a dense, warm fabric perfect for cold weather. The design utilizes a simple rectangular panel construction, making it an ideal choice if you are tired of working in complex rounds or managing increases. Because it relies on basic chains and half double crochet stitches, it is a relaxing, rhythmic project you can complete in a single evening. The ribbed texture created by working in the back loops gives the hat a professional, store-bought look that stretches comfortably to fit most adult head sizes.
This is the most straightforward hat pattern I have ever used. The texture is lovely and it fits perfectly without needing to constantly count stitches in the round.
— Sarah, hobbyist crocheter
Pattern Overview & Skill Level
- Skill Level: Beginner
- Approximate Time: 3 to 4 hours
- Construction: Flat rectangular panel joined at the sides and cinched at the top
- Finished Dimensions & Sizing: 9 inches tall by 18 inches circumference (stretches to 22 inches)
Materials & Supplies Needed
- Yarn: Worsted weight (#4), 100% acrylic or wool blend, approximately 200 yards.
- Hook Size: 5.5 mm (US I-9).
- Notions: Large eye tapestry needle for seaming, scissors, and a measuring tape.
- Safe yarn substitutions: You can use a lighter worsted weight or a heavy DK yarn, but keep in mind that a lighter yarn will result in a smaller hat. If you use a thicker wool, you may need to reduce the number of foundation chains to maintain the desired circumference.
Stitch Guide & Abbreviations (US Terms)
- ch: Chain
- hdc: Half double crochet
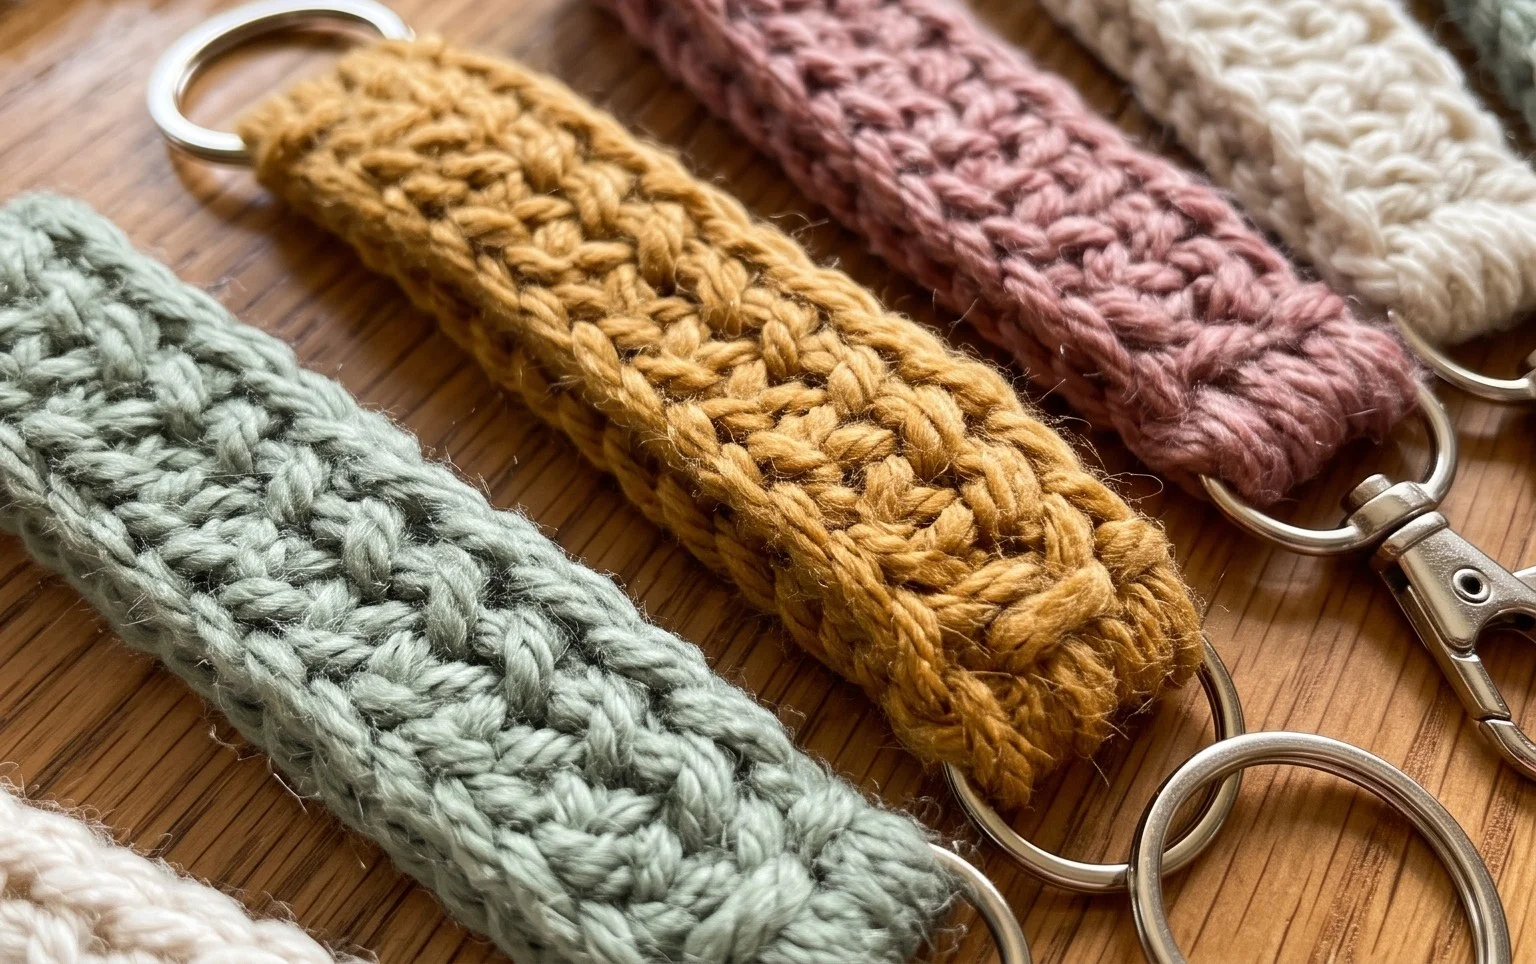
- hdc BLO: Half double crochet in the back loop only. Insert your hook only through the back loop of the stitch from the previous row to create a ribbed effect.
- st/sts: Stitch/stitches
- sl st: Slip stitch
Step-by-Step Pattern Instructions
Hat Body
You will work the body of the hat as a flat rectangle, then fold it to create the tube shape.
- Row 1: Ch 41. Hdc in the second ch from the hook and in each ch across. (40 sts)
- Row 2: Ch 1, turn. Hdc BLO in each st across. (40 sts)
- Rows 3-60: Repeat Row 2 until the piece measures approximately 18 inches in length. Ensure you maintain the stitch count of 40 sts in every row.
- Finishing the panel: Fasten off, leaving a 20-inch yarn tail for seaming.
Assembly
- Side Seam: Fold the rectangle in half so the short edges meet. Using the tapestry needle and the long yarn tail, sew the two short edges together using a whip stitch or mattress stitch.
- Closing the Crown: With the remaining yarn, weave the needle in and out along the top edge of the tube. Pull the yarn tail tight to cinch the top of the hat closed. Secure with a double knot on the inside of the hat and trim the excess.
Care & Washing Instructions
- Hand wash in cool water using a mild detergent specifically designed for delicate fibers.
- Lay the hat flat on a clean towel to air dry, reshaping it while damp to ensure the ribbing stays aligned.
- Avoid using a tumble dryer, as heat can cause synthetic fibers to lose their elasticity or cause wool to shrink unevenly.
Pro Tips & Common Mistakes to Avoid
Maintaining consistent tension is essential for this pattern, as the stretchiness of the hat depends on the uniformity of your half double crochet stitches. Use a stitch marker on the first stitch of every row to ensure you do not accidentally skip the final stitch, which is a common error that leads to a slanted edge. When weaving in your ends, run the needle through the base of the stitches on the inside of the hat to keep the tail hidden and secure. If you want a slouchier fit, simply add 5 to 10 more rows to the length of the rectangle before joining, though be aware this will require approximately 30 extra yards of yarn.
Frequently Asked Questions
Can I use a different weight of yarn for this pattern?
Yes, but you will need to adjust the number of starting chains and the total number of rows. A thinner yarn requires more stitches to reach the same width, while a bulkier yarn requires fewer.
Is this pattern suitable for someone who has never crocheted before?
It is very beginner-friendly. As long as you are comfortable making a foundation chain and working basic half double crochet stitches, you can complete this project successfully.
Can I sell the hats I make from this pattern?
You are welcome to sell items made from this pattern, but please credit the design when listing your products online or at craft markets.
Why does my finished hat look smaller than the dimensions provided?
This usually happens if your tension is too tight. If you find your gauge is too small, try moving up one hook size to 6.0 mm or consciously relaxing your yarn tension while working the stitches.
This simple hat brings a sense of accomplishment when you finish the final seam and pull the top closed. Try using two strands of different colors held together for a unique, marled appearance that adds weight and depth to the fabric. Posting a picture of your finished work helps other makers find inspiration for their own stash projects. Explore the rest of the blog for more patterns that use small amounts of leftover fiber to build a complete winter set including mittens or a cozy neck warmer.